Installation Process
Inspection the material
Check the quantity for the solar panels, inverter, cable, L feet, rail and anyother things
Site Survey
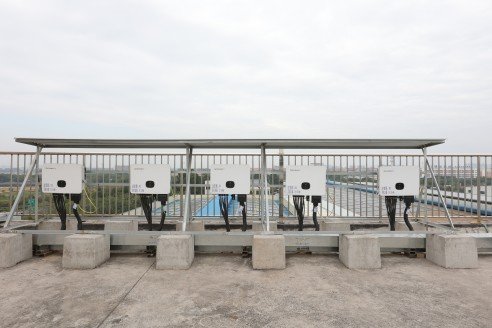
Usually if it is a flat concrete roof, the inverter can be installed on the roof, just make a small rain shelter, which can save PV lines. For sloped roofs, you can consider installing it on the wall under the eaves.
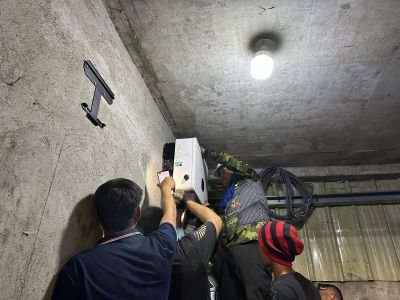
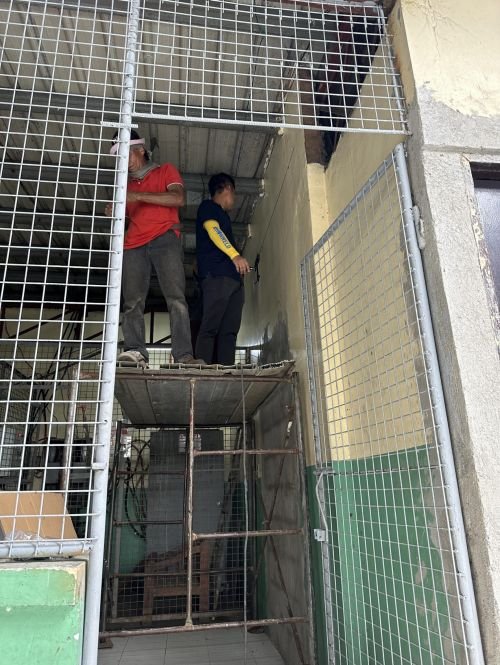
This installation point does not meet these two conditions, so the inverter is installed indoors. In addition, if there is a suitable ground for placing the inverter outdoors, you can build a shelf to place the inverter and add a rain shelter.
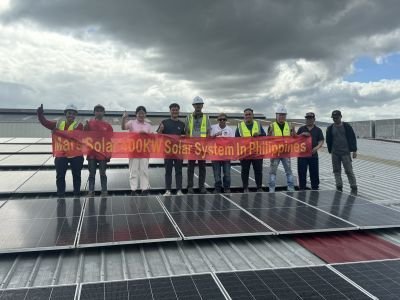
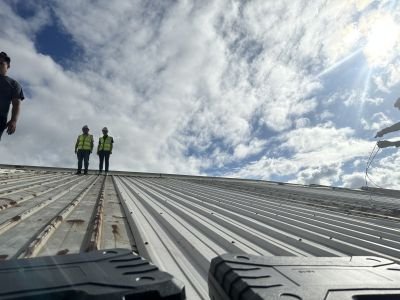
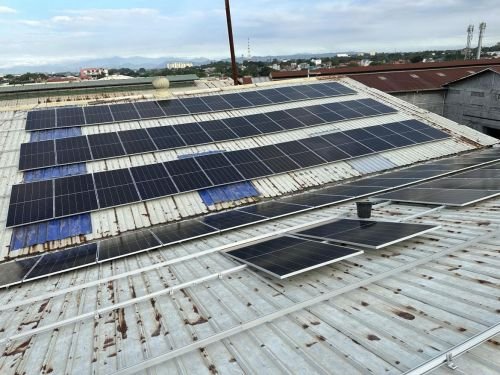
At the first factory, we discovered that the roof where solar panels were originally planned to be installed,
There are 2 roofs that will be blocked by the building in front starting around 2-3 pm. If solar panels are installed in this area, the power generation efficiency of the entire system will be greatly reduced.
A temporary adjustment was made to install the solar panels on the third roof, which also led to greater demand for PV lines.
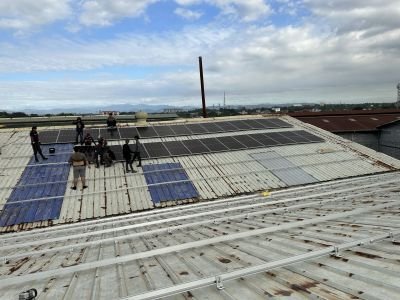
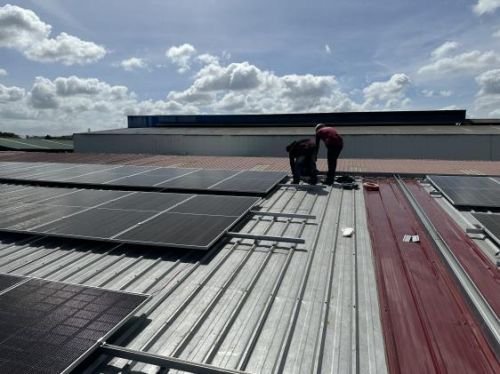
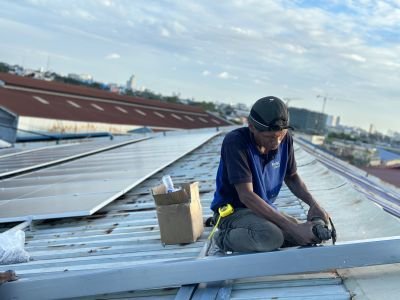
Install the Solar Panel Bracket
- After confirming the number of guide rails in a row, first roughly arrange them
- Confirm the distance between each rail (solar panel length is 2.3 meters, the distance between 2 rails is approximately 1.3 meters; the first row and
The distance between the second row of guide rails is about 1.5 meters, so the remaining walkway is about 50 centimeters), and because
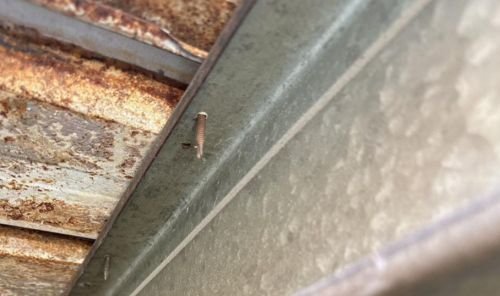
The L foot needs to be nailed to the keel, so it should also be considered based on the actual situation.
Put Up The Solar panel
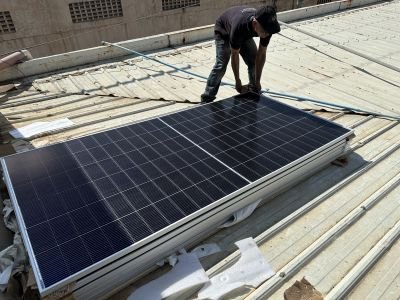
Note that if it is a sloping roof, the solar panels must be unpacked and packaged on the ground first. One pallet weighs more than 1,000 kilograms.
The ties inside will tilt when untied, making it difficult for several people to hold up. Otherwise, they must be placed close to the wall. If not, just use the board from another pallet to hold it up.
Install solar panels
- Series wiring
- Medium pressure (drill or hex screws)
Build the bridge and install the inverter
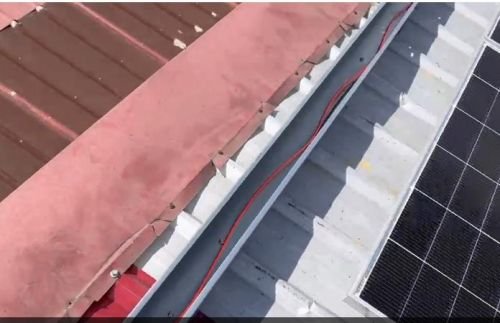
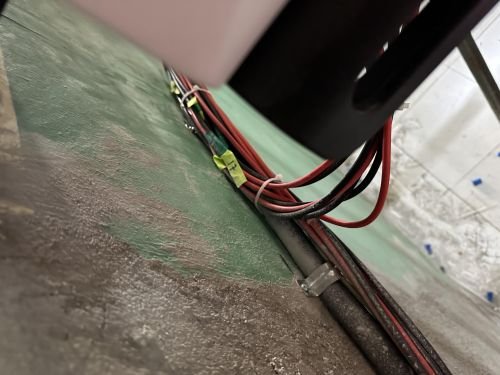
The bridge is used to pull photovoltaic wires. First determine the location and start building it.
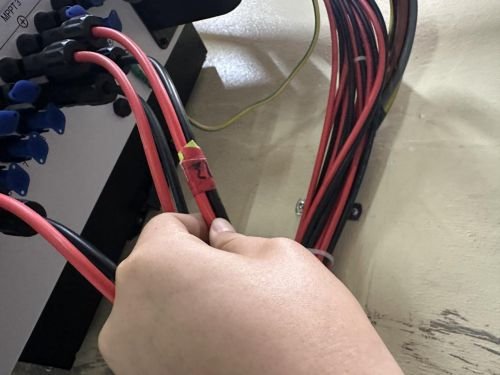
Then connect the solar panels, mark them, and pull the wires toward the inverter.
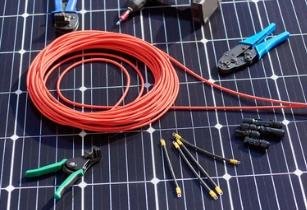
Make the MC4 connector and test whether there is voltage. If the voltage is correct, the group can be connected to the inverter. If no voltage is detected, check whether there is an open circuit in the group or poor MC4 contact.
Therefore, before the whole group is completed, the bridge is not covered until all wiring is confirmed to be correct, and then the bridge is finally closed.
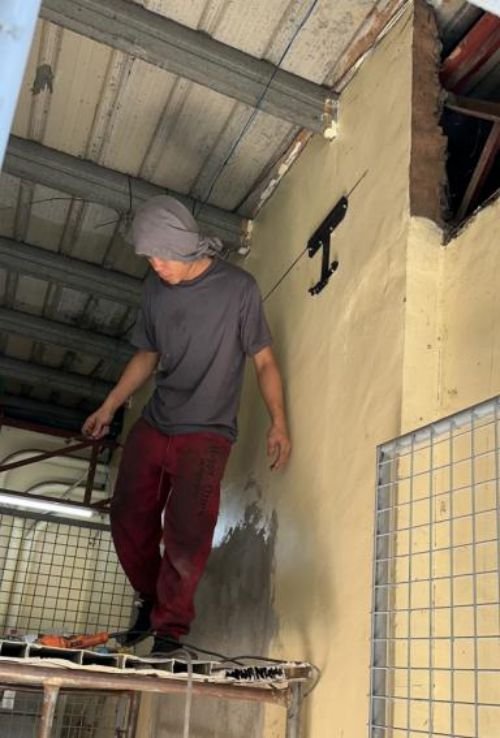
When installing the inverter, the wall must be flat. Use a level or anything absolutely straight to mark it.
AC wiring and grid connection
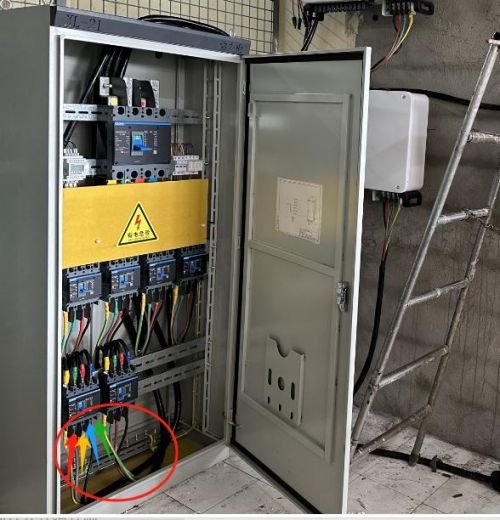
Make wires, connect the cables from the inverter AC output to the distribution cabinet, and connect them to each circuit.
The power distribution cabinet is connected to the mains power
First, make the line and add the line nose
Then power outage, wear insulated gloves and helmet for wiring
Check that all lines are connected and turn on the machine (if it is too early or too late and the voltage is lower than the inverter starting voltage, the inverter cannot start)
Finally, the electrical room is equipped with a fire extinguisher. If the electrical room is a closed space, an air conditioner is installed to allow the inverter to operate normally and extend its service life.
Routine inspection and maintenance work:
Inspection:
1. Inverter fan inspection
2. MC4 terminal inspection
3. AC terminal inspection
4. Current and voltage parameter detection
5. System power generation situation
maintain:
In the case of outdoor installation, it is recommended to clean the fan and solar panels every six months (flexible depending on conditions)


